Internet Protocol Television (IPTV) enables users to stream live broadcasts, on-demand content, time-shifted programming, pay-per-view (PPV), and more.
With IPTV, viewers can access their favorite shows and channels anytime and from virtually anywhere.
More Info : Best IPTV Services
While most IPTV players are compatible with multiple platforms, streaming on these applications requires valid login credentials and an M3U playlist URL from your IPTV service provider.
Despite the wide availability of IPTV software, high-quality IPTV players optimized for macOS are limited.
In this guide, we’ve curated a list of the best IPTV players available for Mac, complete with an installation overview to help you get started.
What is macOS?
macOS is Apple’s proprietary operating system designed exclusively for Mac computers. Known for its seamless performance, macOS is engineered to work in perfect harmony with Apple hardware, delivering a smooth and secure user experience.
It comes preloaded with a suite of powerful applications and integrates effortlessly with iCloud, allowing users to sync data such as photos and documents across all Apple devices.
Privacy, security, and usability are at the core of macOS, making it a preferred choice for both personal and professional use.
Why Choose a Mac?
-
Simplified purchasing and setup process
-
User-friendly and intuitive macOS interface
-
Free access to new macOS updates
-
Preloaded with premium apps at no additional cost
-
High-resolution Retina displays for enhanced viewing
-
Industry-leading trackpad experience
-
Easy repairability and long-term reliability
-
Compatibility with Windows (via Boot Camp or virtual machines)
15+ Best IPTV Players for Mac
Here are the top IPTV players for macOS to elevate your streaming experience:
1. VLC Media Player

Pros: Free, open-source, supports M3U playlists, and handles a wide range of media formats.
Cons: Does not offer IPTV-specific features like EPG or Catch-up TV.
2. GSE Smart IPTV
Pros: Supports multiple formats (M3U, JSON), EPG, Chromecast, parental controls, and subtitles.
Cons: User interface may be unintuitive; occasional bugs.
3. Kodi
Pros: Highly customizable with IPTV add-ons like PVR IPTV Simple Client; supports M3U playlists and EPG.
Cons: Setup can be challenging for beginners.
4. IPTV Smarters Pro
Pros: User-friendly, supports EPG, VOD, multi-screen, and multiple logins.
Cons: Some advanced features are locked behind the premium version.
5. Perfect Player

Pros: Clean UI, supports M3U and XSPF playlists, includes EPG and decoding settings.
Cons: Initial configuration can be complex.
6. SSIPTV
Pros: Supports M3U playlists, AirPlay, and media downloads from the web.
Cons: Lacks IPTV-specific features like EPG.
More Info : Best IPTV Services
7. IPTV Extreme (via Android Emulator)
Pros: Includes EPG, VOD, parental controls, and multi-playlist support.
Cons: Not natively supported on macOS; requires emulator.
8. OTTPlayer
Pros: Free, syncs settings across devices, supports M3U and EPG.
Cons: Limited customization options.
9. MyIPTV Player (via third-party tools)
Pros: Simple and free, supports M3U and EPG.
Cons: Basic UI and feature set.
10. ProgDVB/ProgTV (via Android Emulator)
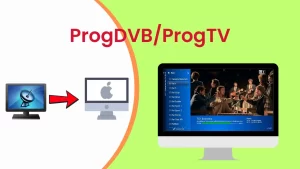
Pros: Advanced features like Picture-in-Picture, DVB support, and EPG.
Cons: Requires emulator; setup may impact performance.
11. TiviMate (via Android Emulator)
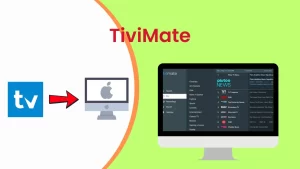
Pros: Modern UI, EPG, catch-up TV, and multiple playlist support.
Cons: Only available through emulation on Mac.
12. SET IPTV (via Wine or Emulator)
Pros: Lightweight with recording and M3U support.
Cons: Setup via emulator or Wine can be difficult.
13. MegaCubo
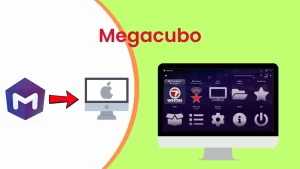
Pros: Open-source and free, supports M3U streaming.
Cons: Minimal features, not natively available for Mac.
14. XCIPTV Player (via Android Emulator)
Pros: Integrated media player, catch-up TV, and playlist support.
Cons: Emulator required, which may impact speed and efficiency.
15. Ott Navigator IPTV (via Android Emulator)
Pros: Clean interface, catch-up TV, advanced filtering, EPG.
Cons: Emulator dependency adds complexity.
How to Install and Use IPTV Players on macOS
macOS users have multiple methods available to install IPTV players, whether through the Mac App Store, web browsers like Safari, or Android emulators for non-native apps.
Below is a step-by-step guide to help you install IPTV players on your Mac and configure them with your IPTV subscription.
Method 1: Install via Safari or the Mac App Store
macOS includes access to the App Store, where you can download both free and paid IPTV applications. For this example, we will use VLC Media Player, a reliable and popular IPTV-compatible media player.
More Info : Best IPTV Services
Steps to Install VLC on Mac:
1. Open Safari and visit the official VLC Media Player website.
2. Download the macOS setup file (.dmg) and open it.
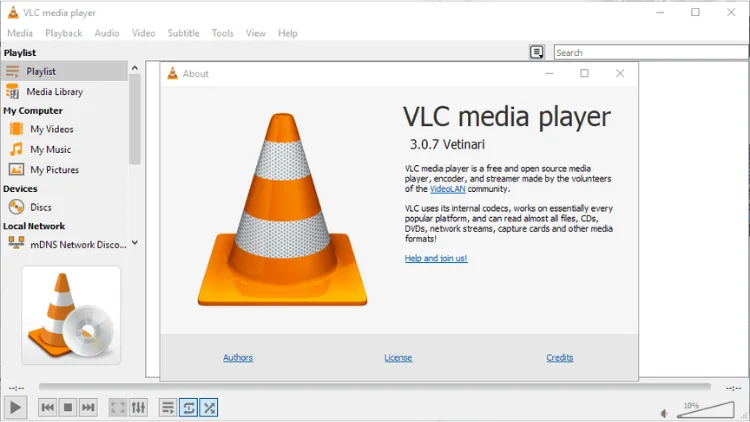
3. Install VLC by dragging the application into your Applications folder.
4. Launch VLC from your Applications folder. The player will open with the playlist interface by default.
5. Subscribe to an IPTV service through a new Safari tab. Your IPTV provider will supply an M3U playlist URL or file.
6. Download the M3U file and drag it into the VLC interface to start streaming.
Tip: VLC is free, lightweight, and supports a wide range of media formats including M3U playlists, making it ideal for IPTV beginners.
Method 2: Install via Android Emulator (Bluestacks or Nox App Player)
Some IPTV apps are not natively available for macOS. In these cases, using an Android emulator such as Bluestacks or Nox App Player allows you to run Android apps on your Mac.
Steps to Install IPTV Player Using Bluestacks (Example: Perfect Player IPTV):
1. Download Bluestacks for Mac from the official website (or download Nox App Player as an alternative).
2. Install the emulator by following the on-screen instructions.
3. Launch Bluestacks once the installation is complete.
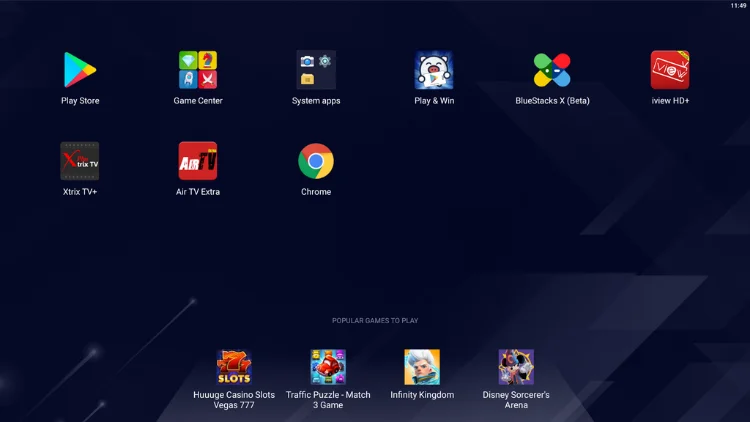
4. Log in to the Google Play Store using your Google account credentials.
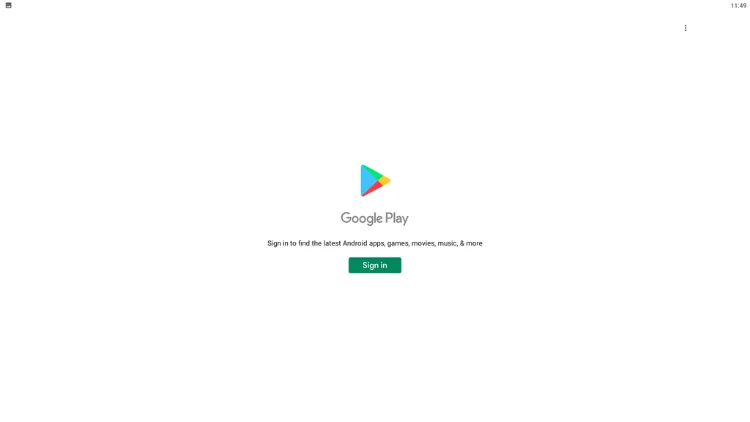
5. Search for “Perfect Player IPTV” in the Play Store.
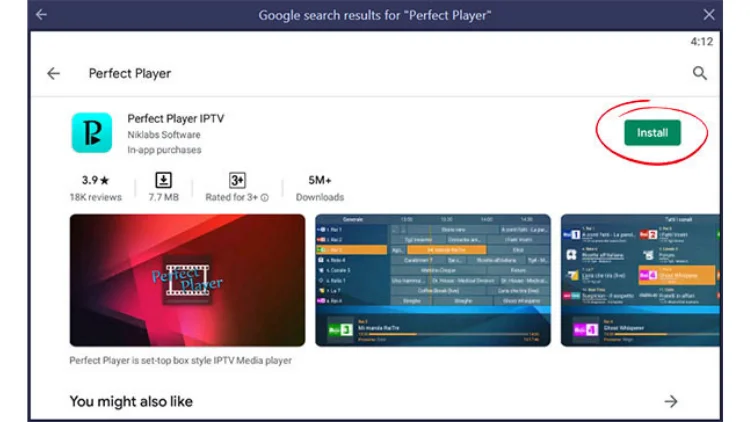
6. Click “Install” to download and install the app.
Optional: If you already have the APK file for your IPTV app, you can import it directly into Bluestacks or Nox using the built-in file manager.
7. Once installed, open Perfect Player and proceed to configure your IPTV service.
How to Add IPTV Channels in Perfect Player (via Emulator)
Once you’ve installed Perfect Player (or a similar app), follow these steps to add your IPTV playlist:
1. Open Perfect Player IPTV to access the main control panel.
2. Click the gear icon to enter the Settings menu.
3. Navigate to the General tab.
4. Under the Playlist field, enter your M3U URL (or file path if you downloaded the playlist).
5. (Optional) Enter a custom name for your playlist to distinguish it if you use multiple IPTV services.
6. If available, add the EPG URL in the corresponding field to enable the Electronic Program Guide.
7. Click OK to save your settings.
8. Wait a few seconds for the application to fetch and display the IPTV channel list.
More Info : Best IPTV Services
Conclusion
While macOS offers limited native IPTV options, applications like VLC Media Player, GSE Smart IPTV, and IPTV Smarters Pro deliver smooth and straightforward performance.
For more advanced or Android-exclusive IPTV players like Perfect Player, TiviMate, or OTT Navigator, Android emulators provide a reliable workaround.
Regardless of the method you choose, an active IPTV subscription and a valid M3U playlist are essential for streaming content.
Choose the installation method and IPTV player that best aligns with your preferences to enjoy high-quality streaming on your Mac.
